MVP Launch Checklist: 8 Steps Before Going Live
Ensure your MVP is ready for launch with this comprehensive 8-step checklist covering features, testing, security, onboarding, and feedback.

MVP Launch Checklist: 8 Steps Before Going Live
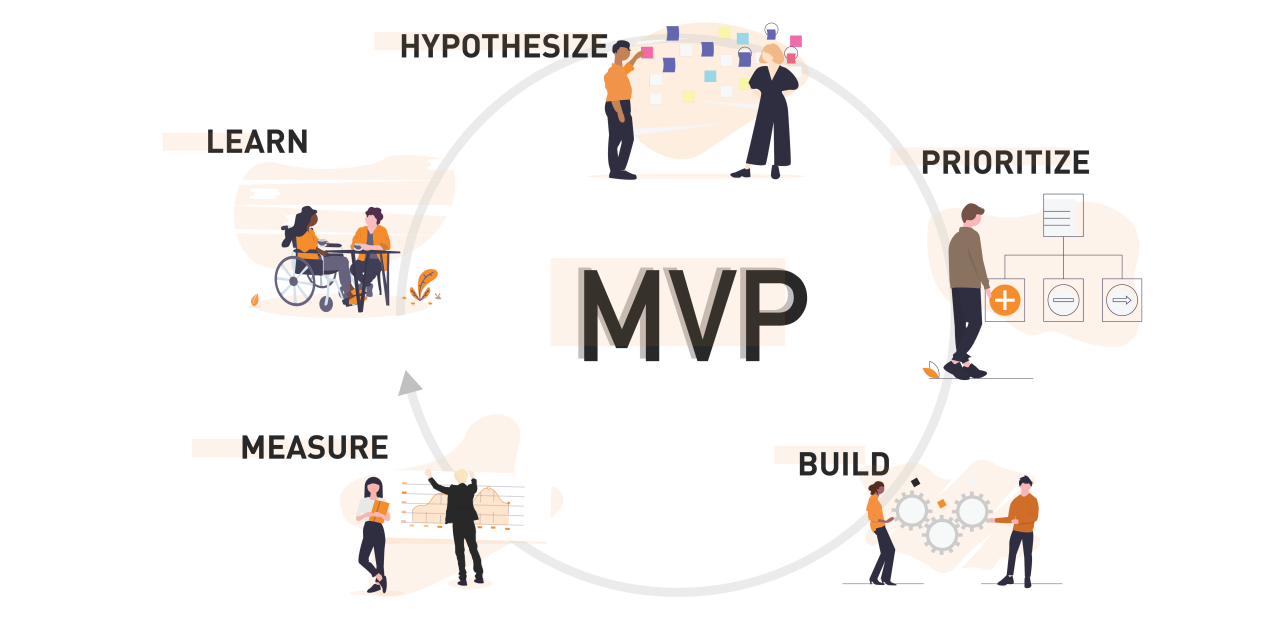
Launching an MVP (Minimum Viable Product) is about delivering a focused version of your product that solves core user problems while gathering valuable feedback. Here's the 8-step checklist to ensure your MVP is ready:
-
Finalize Core Features: Prioritize "must-have" features and cut unnecessary extras using tools like the MoSCoW method.
-
Conduct Thorough Testing: Perform Quality Assurance (QA) and User Acceptance Testing (UAT) to ensure stability and usability.
-
Optimize Performance & Security: Improve speed, responsiveness, and safeguard user data with encryption and security protocols.
-
Prepare User Onboarding: Design simple onboarding flows with guides, tutorials, and contextual help.
-
Set Up Analytics & Feedback: Track key metrics (e.g., feature adoption, load times) and collect user feedback through surveys and interviews.
-
Develop a Marketing Strategy: Identify target audiences, create personas, and plan pre-launch, launch, and post-launch campaigns.
-
Ensure Legal Compliance: Review terms, privacy policies, and meet industry regulations like HIPAA or PCI-DSS.
-
Plan Post-Launch Activities: Create a roadmap for updates and improvements based on user feedback and analytics.
This checklist ensures your MVP is stable, user-friendly, and ready to generate actionable insights for future growth.
Launch your MVP with confidence
Get expert help implementing this 8-step checklist and go live faster.
The MVP Launch Checklist: 15 Mistakes to Avoid
1: Finalize Core Features
Choosing and refining the right features for your MVP is all about striking a balance between keeping it simple and ensuring it delivers real value. This step helps you avoid one of the biggest pre-launch pitfalls - scope creep - while staying focused on solving key problems.
Select Key Features
Focus on features that address your users' main challenges. A helpful way to prioritize is by using the MoSCoW method:
| Priority Level | Description |
|---|---|
| Must Have | Features that are absolutely necessary to solve the core problem |
| Should Have | Important features, but not critical for the first launch |
| Could Have | Features that are "nice to have" and can wait |
| Won't Have | Features to exclude from the MVP altogether |
When evaluating features, think about how they impact your main value proposition. Set clear, measurable goals like "reduce processing time by 10%" instead of vague objectives.
Keeping your MVP focused on solving the core problem ensures you can gather meaningful feedback from users.

Cut the Extras
Once you've identified the essential features, it's time to remove anything that doesn't add immediate value. Use these three steps to filter out distractions:
-
Score features using the RICE framework (Reach, Impact, Confidence, Effort).
-
Summarize each feature's purpose in a single sentence.
-
Cross-check features with actual user needs.
This approach helps you avoid wasting time and resources. By aligning features with customer pain points and using prioritization tools, you can ensure your MVP stays on track and delivers results.
2: Conduct Thorough Testing
Testing is a critical step to uncover flaws before users experience them. Building on the core features outlined in Step 1, this phase ensures your implementation holds up under scrutiny. Use these two key testing approaches:
Perform Quality Assurance Testing
Follow a structured approach to testing, gradually increasing complexity as issues are resolved:
| Testing Type | Focus Areas | Key Metrics |
|---|---|---|
| Functional | Core features, user flows | Bug severity, completion rate |
| Performance | Speed, resource usage | Load time, response time |
| Stress | System stability | Error rate, recovery time |
These metrics provide an important baseline to compare against post-launch analytics in Step 5.
Conduct User Acceptance Testing
Bring in users who align with your Step 6 marketing personas to:
-
Design test scenarios that mirror the core use cases of your MVP.
-
Collect feedback using both numerical data and detailed observations.
-
Focus on fixing issues that directly affect core functionality.
Let users interact naturally with the product to gather meaningful insights about how your MVP performs in real-world scenarios.
Need help with your MVP launch?
Expert guidance on your pre-launch checklist.
3: Optimize Performance and Security
Once you've confirmed everything works as intended through testing, it's time to fine-tune the technical aspects. Here's how:
Boost Speed and Responsiveness
How quickly your site loads and responds can make or break user engagement. Did you know that just a 1-second delay in page load time can cut conversions by 7%? Focus on these areas to keep things running smoothly:
| Metric | Target | What to Do |
|---|---|---|
| Page Load Time | Less than 3 seconds | Compress images, use a CDN |
| Server Response | Less than 200ms | Optimize database queries, enable caching |
| User Interaction | Less than 100ms | Minify code, implement lazy loading |
Strengthen Security
Keeping your platform secure is non-negotiable. Here's what to prioritize:
-
Authentication and Data Protection
Encrypt user data during both transmission and storage. Add two-factor authentication and set session timeouts to enhance account security. -
Prevent Vulnerabilities
Validate all user inputs to block harmful code. Safeguard against cross-site scripting (XSS) and cross-site request forgery (CSRF) attacks.
These steps lay the groundwork for smoother user onboarding (Step 4) and effective analytics setup (Step 5).
4: Prepare User Onboarding
A smooth onboarding process plays a key role in keeping users engaged. When done well, it reduces early drop-offs, making your analytics (Step 5) and marketing efforts (Step 6) much more effective.
Design User-Friendly Flows
| Onboarding Element | Implementation |
|---|---|
| Welcome Screen | Highlight the value you offer with one clear call-to-action. |
| Account Setup | Ask for only the essentials and offer social login options. |
| Feature Introduction | Use gradual feature rollouts and provide helpful hints. |
| Success Indicators | Show progress with visual cues like completion bars. |
Focus on delivering the core value right from the start.
Provide User Guides or Tutorials
Support materials should enhance the onboarding experience without overwhelming users. Here's how you can make them effective:
-
Interactive Walkthroughs: Create guided tours for specific features. Track these interactions in your analytics to understand user behavior better.
-
Visual Documentation: Use a mix of formats to keep things clear and engaging:
-
Short videos (30-60 seconds) to demonstrate key features.
-
Screenshots with helpful labels.
-
Step-by-step tutorials with visuals to guide users.
-
-
Contextual Help: Embed assistance where users need it most:
-
Tooltips for more complex features.
-
Inline suggestions during important tasks.
-
This approach not only improves the onboarding experience but also helps reduce early drop-offs, which ties directly into your analytics and feedback efforts in Step 5.
5: Set Up Analytics and Feedback Mechanisms
Once user onboarding is fine-tuned (Step 4), it's time to measure how your MVP is performing. Here's how to get started:
Use Analytics Tools
Keep an eye on metrics that show how well your MVP is doing. Here's a quick breakdown:
| Category | Key Metrics | How to Track |
|---|---|---|
| Usage | Feature adoption, Drop-off points | Tag core features using tools like Mixpanel |
| Performance | Load times, Error rates | Use New Relic alerts for delays over 3 seconds |
Create Feedback Channels
Numbers are important, but so is hearing directly from users. Combine these three methods for a complete picture:
| Feedback Type | How to Implement | Why It's Useful |
|---|---|---|
| In-app Surveys | Short surveys in key moments | Capture immediate user reactions |
| Public Roadmap Tracker | A feedback board for users | Helps shape your product's direction |
| User Interviews | One-on-one video calls | Understand deeper user needs |
The data and feedback you gather here will guide your next steps, including marketing strategies (Step 6) and refining your product after launch (Step 8).
Need help with your MVP launch?
Expert guidance on implementing this checklist efficiently.
6: Develop a Marketing Strategy
Using the user behavior data from Step 5, focus your marketing efforts where they will make the biggest difference. A clear marketing strategy ensures your MVP connects with the right audience.
Identify Target Audience and Channels
Use analytics from Step 5 and the core feature insights from Step 1 to create detailed user personas. Concentrate on early adopters - those most eager to try new solutions. Identify where these users spend their time, both online and offline.
| Audience Analysis Component | Key Questions to Answer |
|---|---|
| Demographics | What's their age, location, and profession? |
| Digital Behavior | Which platforms do they prefer? When are they most active? |
| Pain Points | What challenges are they facing? What needs remain unmet? |
Select channels that match your audience's habits. Focus your efforts on platforms where your personas are most active and engaged.
Create Launch Campaigns
Your launch campaign should zero in on your MVP's core value. Break it into three distinct phases:
| Phase | Key Activities |
|---|---|
| Pre-launch | Build anticipation by teasing core features from Step 1. |
| Launch | Use unified messaging across all channels. |
| Post-launch | Showcase real-world benefits validated in Step 5. |
Develop content that highlights how your solution addresses specific problems. For example, if your MVP tackles a time-management issue identified in Step 1, emphasize measurable outcomes like: "Cut project setup time in half."
This targeted approach helps set clear user expectations, paving the way for compliance checks in Step 7.
7: Ensure Legal and Compliance Readiness
Making sure your MVP meets legal requirements is essential for protecting both your product and its users. It also helps avoid expensive fixes later and builds trust with your audience.
Review Terms and Policies
Create clear legal documents that safeguard your startup while being easy for users to understand. Focus on these three key areas:
| Document Type | Key Components | Purpose |
|---|---|---|
| Terms of Service | Usage rights, limitations, dispute resolution | Define user responsibilities and platform rules |
| Privacy Policy | Data collection, storage, sharing practices | Explain how user data is handled |
| User Agreements | Consent forms, feature access terms | Set specific usage guidelines |
Use simple, straightforward language to clearly outline user rights and your responsibilities. For instance, if your MVP collects user data, be transparent about what data you collect and how it's used. This not only ensures legal clarity but also boosts user confidence in how their information is managed.
These documents also tie into earlier steps, like supporting your analytics setup (Step 5) and backing up your marketing claims (Step 6). Clear terms and policies show users that their trust is taken seriously.
Address Industry Regulations
Every industry comes with its own set of rules. Here's how to navigate compliance for some common sectors:
| Industry | Key Regulations | Critical Requirements |
|---|---|---|
| Healthcare | HIPAA | Data encryption, access logs |
| Finance | PCI-DSS | Secure payment processing |
| Children | COPPA | Parental consent systems |
"Compliance requires continuous alignment with evolving standards" - Dr. Ann Cavoukian, Former Information and Privacy Commissioner of Ontario, Canada
Before your launch, take these steps to ensure compliance:
-
Audit MVP features to check they meet relevant regulations.
-
Document how data is collected and stored to maintain transparency.
-
Implement data protection controls that align with your MVP's risk level.
Laying this groundwork not only ensures a smoother launch but also sets you up for easier monitoring and updates after your product goes live (Step 8).
8: Plan for Post-Launch Activities
After laying the legal groundwork in Step 7, it's time to focus on refining your MVP based on how users interact with it. Post-launch planning transforms the lessons from your MVP into actionable steps for product growth. Here's how to stay on track:
Set Up a Feedback Loop
A solid feedback system is essential for understanding user needs and improving your product. Use multiple channels to gather insights from different angles:
| Feedback Channel | Purpose | When to Use |
|---|---|---|
| In-app Surveys | Gather quick feedback on features and sentiment | First week post-launch |
| User Interviews | Dive deep into user behavior and motivations | Every two weeks |
| Analytics Tracking | Monitor usage patterns and performance metrics | Ongoing |
| Support Tickets | Identify bugs and user pain points | Daily |
Integrate these feedback tools into your development process. Schedule regular review meetings to analyze the data, prioritize updates, and ensure your team focuses on what matters most to users.
Create a Post-Launch Roadmap
Use the feedback you've collected (Step 5) and align it with your core features (Step 1) to map out a clear post-launch plan. Balance immediate fixes with long-term improvements:
| Priority Level | Timeline |
|---|---|
| Critical Updates | Week 1-2 |
| Quick Wins | Month 1 |
| Strategic Features | Month 2-3 |
| Scale Features | Month 4+ |
"Post-launch iteration is where validated learning from your MVP becomes actionable."
When crafting your roadmap, focus on addressing user pain points while keeping technical feasibility in mind. Keep users in the loop about upcoming changes to build trust and manage expectations effectively.
Ready to Launch Your MVP with Confidence?
Preparing for an MVP launch can be overwhelming, especially when you're trying to balance feature development, testing, and marketing preparation all at once. Our team at MVPAgency specializes in guiding startups through the critical pre-launch phase to ensure nothing falls through the cracks.
How We Can Help:
- Pre-Launch Audit: We'll review your MVP against this 8-step checklist to identify any gaps before you go live
- Testing Support: Get expert help with QA and user acceptance testing to catch issues early
- Launch Strategy: Develop a customized marketing and rollout plan tailored to your specific product and audience
Don't risk a failed launch after all your hard work. Let our experienced team help you navigate the final steps to a successful MVP release.
Schedule Your Free Launch Readiness Assessment →
Conclusion
Key Steps Recap
After completing the eight-step preparation process, it's time to shift your focus to executing the launch strategy. These steps guide you in building an MVP that's ready to launch by emphasizing preparation, execution, and planning for adjustments. This method stays true to the core principles of an MVP: learning through validation and improving through iteration.
What to Do Next
Set clear, measurable goals for each item on your checklist and ensure your timelines match your team's capacity. This checklist is designed to guide you into the all-important feedback loop outlined in Step 8.
"Successful launches balance rigorous preparation with adaptability to user feedback."
Before moving forward, make sure you've validated the core features, tested the infrastructure for reliability, and activated your support channels. These final checks confirm your MVP is aligned with the standards you've set and ready to handle the challenges of post-launch improvements.
FAQs
What is a product launch checklist?
A product launch checklist is a tool that organizes all the key tasks needed before releasing a product. It includes everything from development and testing to marketing and go-to-market activities. This checklist ensures that teams stay on track with launch-critical tasks while aligning with the broader product development objectives. Key areas covered include finalizing features, setting up testing protocols, optimizing performance, and preparing marketing efforts. It ties directly to the MVP process, particularly Steps 1 (Core Features) and 5 (Feedback Mechanisms).
"The fundamental idea behind every MVP is to validate a unique value proposition to a specific target audience."
What are the critical steps in developing a minimum viable product (MVP)?
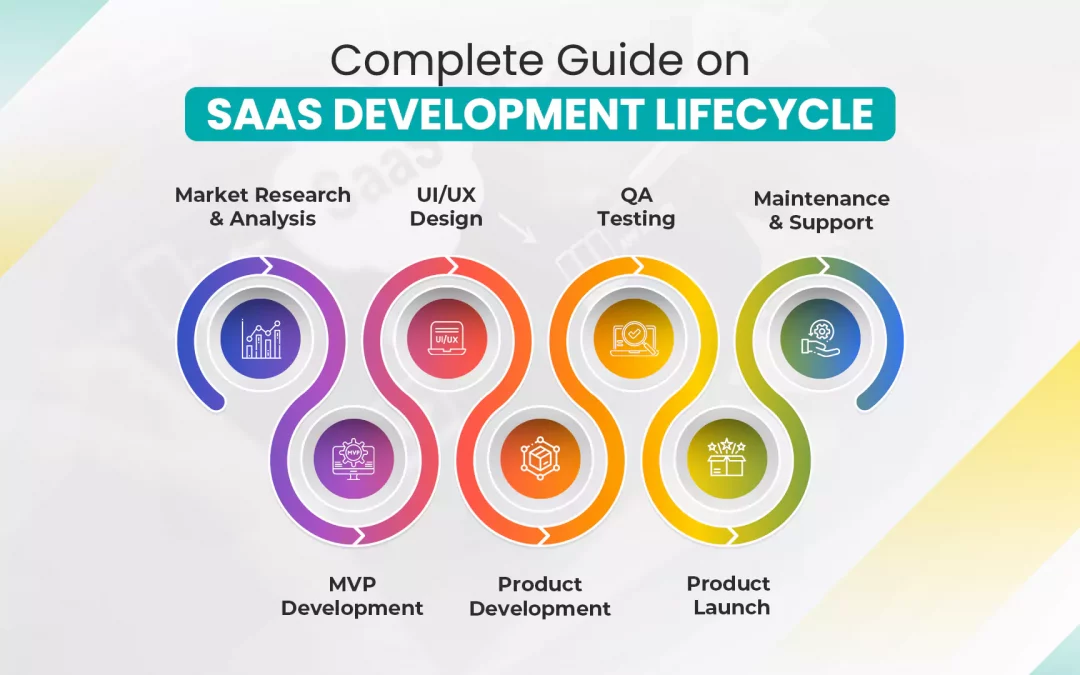
Here's a breakdown of the main phases in MVP development, along with their key actions and purposes:
| Phase | Key Activities | Purpose | Checklist Connection |
|---|---|---|---|
| Problem Definition | Identify user pain points and market gaps | Ensures product-market fit | Steps 1, 5 |
| Market Analysis | Define target audience and research competitors | Validates market opportunity | Steps 1, 6 |
| Feature Selection | Prioritize core functionalities | Focuses on building essential features | Steps 1, 2 |
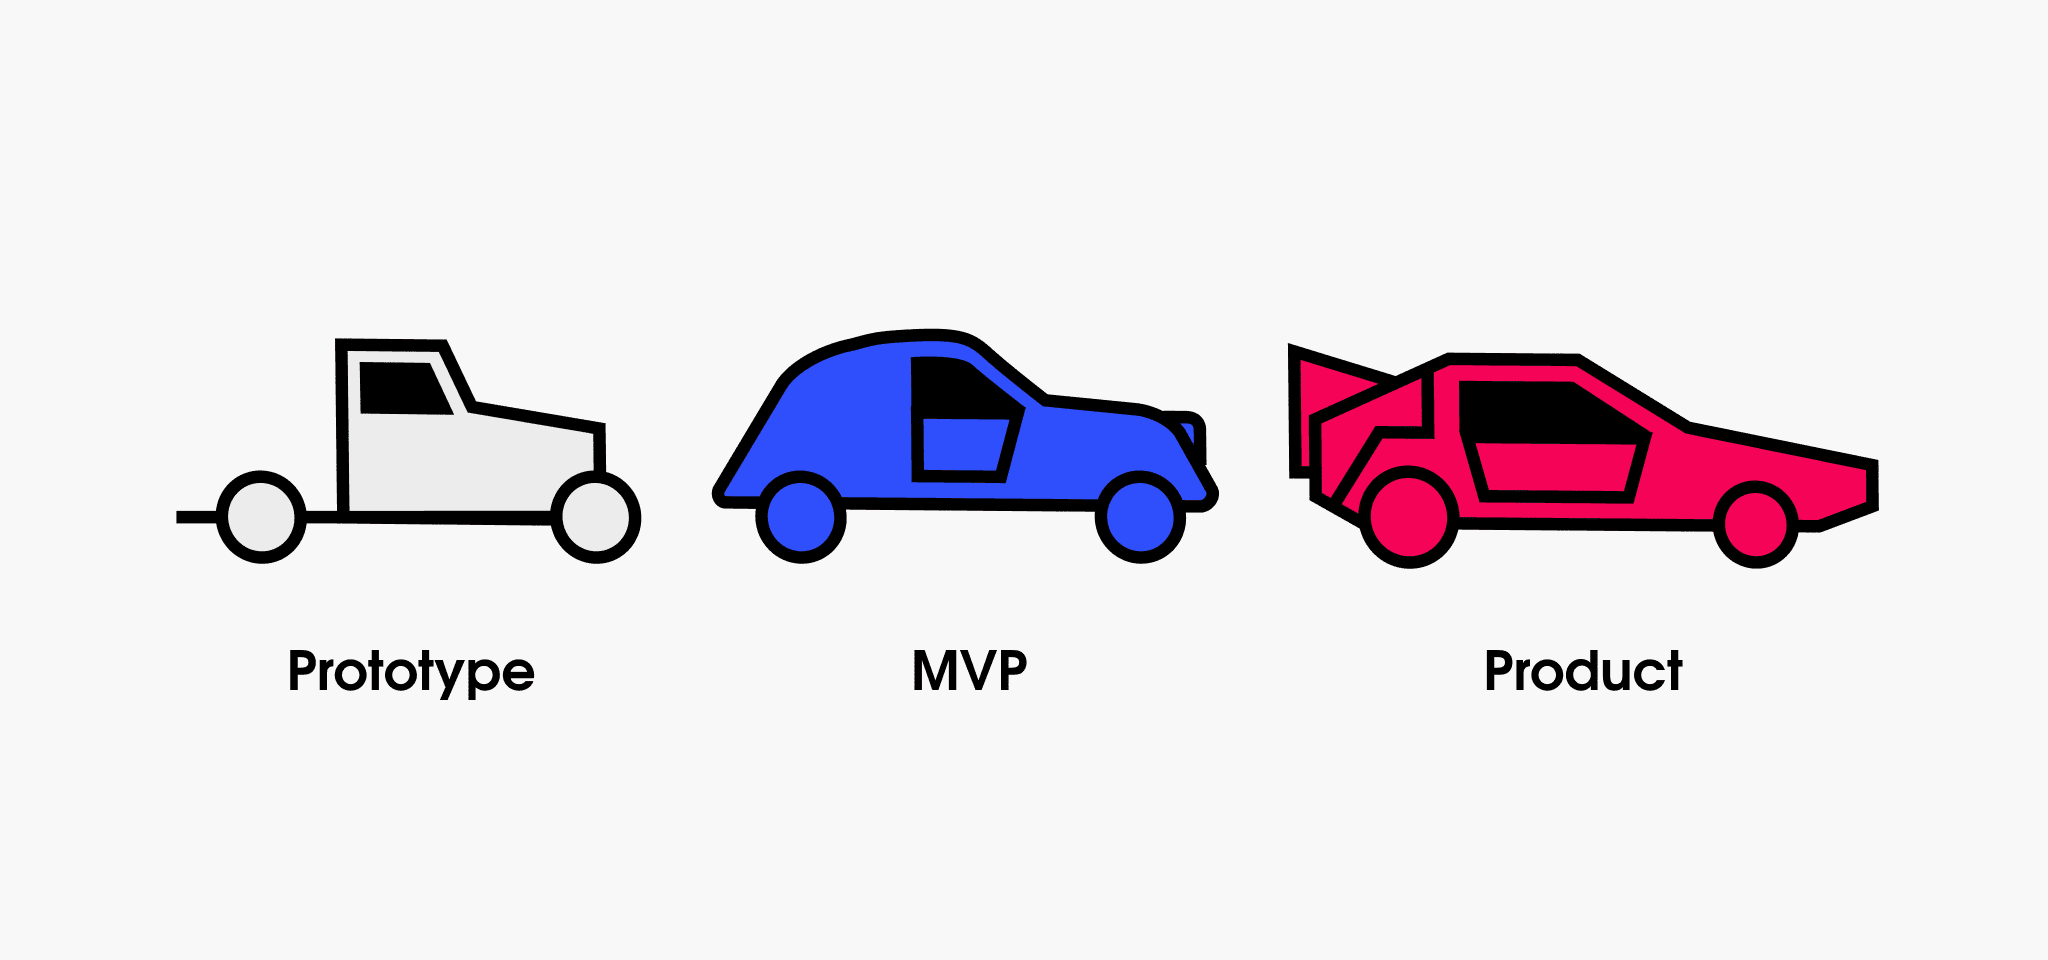
| Design & Build | Create prototypes and develop initial version | Establishes a testable product version | Steps 2, 3, 4 |
| Testing & Validation | Conduct user acceptance testing and QA | Ensures product stability | Steps 2, 3 |
| Launch & Analysis | Release MVP and gather user feedback | Starts the improvement cycle | Steps 5, 6, 7, 8 |
Each phase connects directly to the checklist. For example, the Testing & Validation phase aligns with Steps 2 and 3, ensuring a smooth and stable product release.
- MVPAgency - Focused MVP development
- How to Build an MVP? Step-By-Step Guide to Creating a Successful Product